At Office Solution Pro, we are passionate about Ergonomics! Our readers support the page. If you click on a link, we may earn a small commission at no cost to you. We hope you love the products we recommend as much as we do!
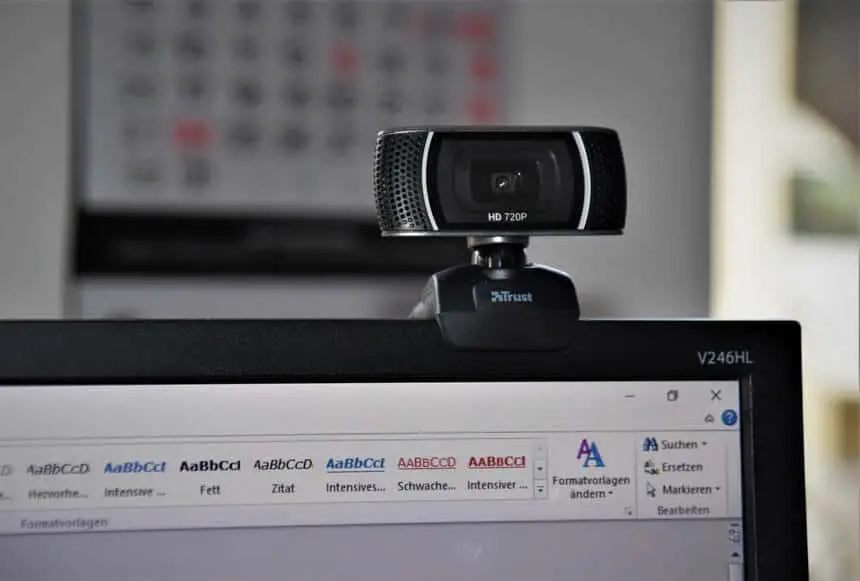
Sometimes, your webcam or computer camera is zoomed all the way to the point where your face takes up the whole screen and nothing is recognizable.
But why is your webcam or computer camera zoomed in?
A webcam or computer camera may be zoomed in when the autofocus or face recognition feature is enabled. If you are moving around while using the webcam, it may need to zoom in and out to control the focus.
Try disabling the autofocus or face recognition feature to keep a webcam image at your preferred distance.
In this post, we will show you how to stop a webcam from zooming in or out, including ways to adjust the zoom on your webcam or computer camera. Let’s get started.
How to Stop Webcam From Zooming In or Out
To stop a webcam from zooming in or out, you need to disable the auto focus or face recognition feature. You may also need to update the webcam or camera driver if it is behaving erratically. If all else fails, move the webcam further back manually.
Here are the tips explained in greater detail:
1. Disable the auto focus or face recognition
Most webcams and computer cameras have an auto focus feature that enables the camera to change its focus automatically.
Some of the most advanced webcams also have face recognition software that may cause the camera to zoom in order to keep your face in focus.
If this is the case, you need to disable the auto focus or face recognition feature to prevent the webcam or camera from zooming in excessively.
While the location of the settings varies by camera and operating system, changing the webcam settings to fix an automatic zooming problem is easy.
On Windows, search for “Webcam” in the Start menu. Your computer should show either a built-in camera or an external webcam.
Once the webcam or camera program has been opened, go to Settings. In most cases, you need to disable the “Pan & Zoom” and disable the “Face Tracking”.
Once both features have been disabled, your webcam or computer camera should not zoom in excessively.
2. Update the webcam or camera driver
Sometimes, a webcam or computer camera can behave erratically and zoom in randomly when the driver is out of date and/or corrupt. Problems with the video card driver may also be the cause.
Try checking for the latest driver update. Your webcam or camera driver should be available to download on the official manufacturer’s website.
On a Windows PC, choose Windows Update from the Start menu.
On an Apple MacBook, update your video card drivers by selecting Software Update from the Apple menu.
3. Manually move your webcam farther
Some webcams are not advanced. They do not have zoom features.
If this is the case, then you need to manually move the webcam further. By physically increasing the distance between the camera and yourself, you can achieve the ideal video image.
In short, you need to move the camera further back.
How to Adjust the Zoom on a Webcam
To adjust the zoom on a webcam, you can use the zoom feature on the Windows Camera app. If your computer does not have the zoom feature, you can adjust the zoom using a 3rd party program like YouCam or Windows Live Messenger.
Here are the three tips explained further:
1. Zoom the webcam in the Camera app
If you are using Windows, you can zoom the image or video on your webcam by using the Camera app.
To zoom in or out, click on the Zoom button and use the slider that shows up to adjust the zoom level of the webcam inside the Camera app.


Note that not all computers have the zoom feature. If your computer does not have this zoom feature, you need to use a 3rd party program to zoom in or out.
2. Zoom the webcam using Windows Live Messenger
- Open Windows Live Messenger. Login using your account or sign up for a new one.
- Click “Tools” on the top menu bar.
- Select “Set up audio and video devices.”
- Click the “Device” dropdown menu and then select your webcam.
- Click “Webcam Settings” and then click the “Camera Control” tab on the top.
- Slide the slider to the left or right to zoom in or out.
- Once you are happy with the webcam zoom, click the “OK” button.
3. Zoom the webcam using YouCam
- Open the YouCam webcam software and turn on the webcam.
- Click the “Settings” button under the webcam preview window.
- Click the “Enable Video Zoom” option.
- Click the “Automatic Face Detection” option. The webcam will now track your face with the webcam and will automatically zoom in on your image as you move around.
- Click the “Manual Zoom” option to manually control the zoom feature. A square will appear in the preview window when you click this option. Drag the square to the section of the capture window you would like to zoom in on. Slide the slider bar to zoom in on the image captured by the webcam.
Final Words
Now you know why your webcam is zoomed in. By learning how to adjust the zoom on your webcam, your video image will now look better than ever.
Related:
- Best webcam without a microphone
- Why is my webcam blurry?
- Why is my webcam green?
- Why is my webcam mirrored?
- Why is my webcam flickering?