Not everyone can accommodate desks designed for dual monitors because of their limited desk surface or office space.
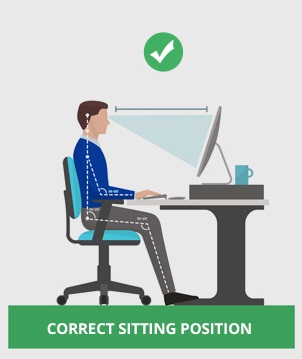
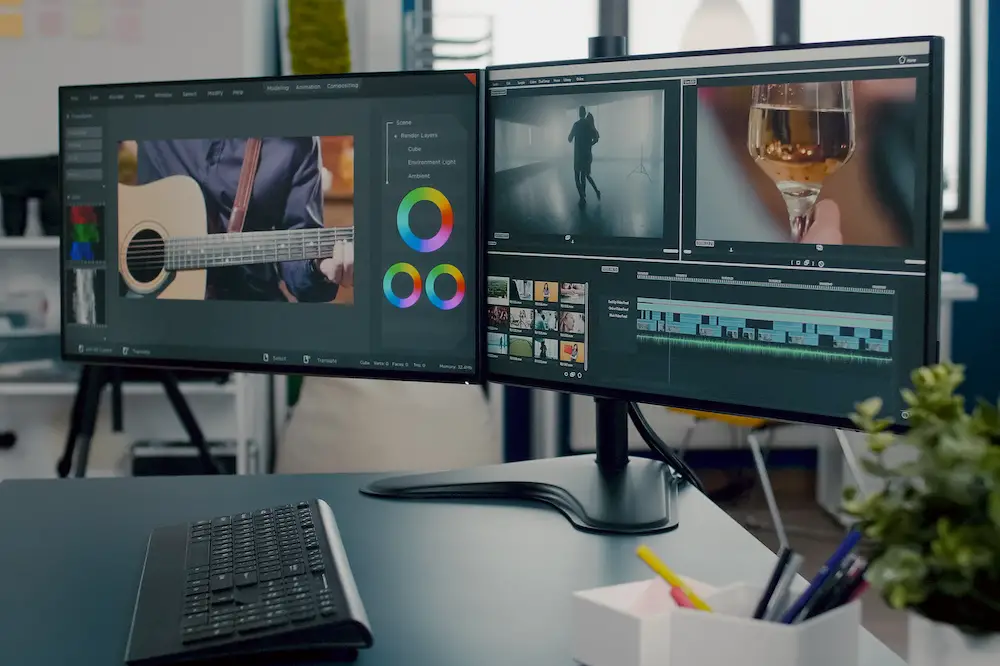
A dual monitor desk mount stand can help. Not only can you save space, but this setup also ensures proper ergonomics.
Most of these quality products are height adjustable, allowing you to set your monitor to a comfortable viewing position.
With these benefits and more, most wonder how to install a dual monitor stand safely, so we’re here to teach you just that.
We hope you love our tips & how-tos. Office Solution Pro is supported by its readers. This post may contain affiliate links. We may earn a commission at no additional cost to you.
How to Install a Dual Monitor Stand in Two Different Ways
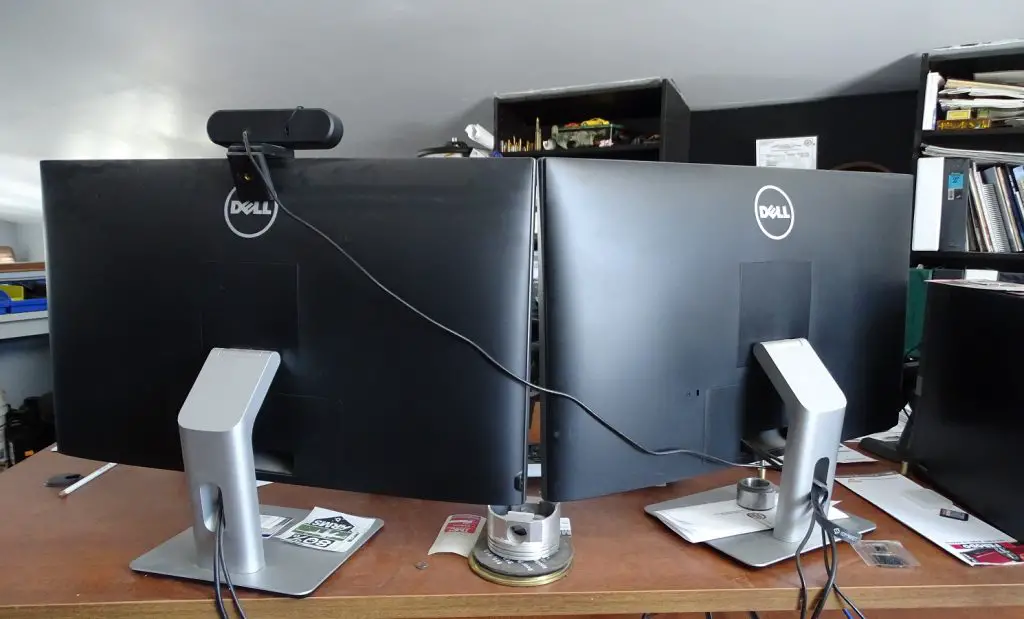
A dual monitor mount desk stand can come with a clamp style mount, grommet, or both, and how you install it depends on this feature.
Also, each premium desk monitor stand comes with product guides detailing the steps you need to follow.
That said, the following are the general methods that you can use for most stands:
Using a C-Clamp
A stand with a C-clamp is ideal for those who have thick desks because of its wide throat (opening).
If this is the double monitor stand that you need to install, here are the steps you need to follow:
- Twist the C-clamp’s adjusting screw so that its opening matches your table’s thickness.
- Fix it to your table or flat work surface, ideally in the middle or center.
- Tighten the screws to ensure the stand’s base is secured.
- Attach the dual monitor arm to the base by following the manufacturer’s instructions.
That’s it! All you need to do now is to attach the monitors to their corresponding arms.
Using a Grommet
Unlike the C-clamp, the grommet has a smaller opening.
Most dual monitors with this installation accessory are meant for desks with a thickness of up to two inches.
Here are the steps when using this installation process:
- Decide which area of the table you want to install your dual monitor pneumatic spring arm stand.
- Mark using a pencil, ensuring the circumference can fit the grommet screw
- Using a drill, carefully create a hole in the marked position.
- Place the grommet base on top of the table, ensuring the grommet hole is exactly on top of the table hole you created.
- Under the table, insert the screw in the hole and tighten it to secure the grommet mounting base.
- Attach the premium dual monitor stand-arms to the grommet mounting base by following the manufacturer’s instructions.
That’s it! All you need to do now is to attach the monitors to their corresponding arms.
FAQs About Installing a Dual Monitor Stand
Apart from learning the techniques to install a dual monitor stand, there are some considerations to keep in mind.
Let’s answer some common questions to address several concerns you might encounter.
1. Are dual monitor stands universal?
Not all monitors will fit into the same stand.
When you shop for products, it’s always essential to consider compatibility and a dual monitor stand isn’t any different.
Plus, each stand specification has a maximum weight of monitor that it can hold.
The good news?
VESA (Video Electronics Standards Association) has a guide in terms of the ideal distance between each hole at the monitor’s back that manufacturers follow.
Suppose you have an OLED or LCD monitor and even a LED or plasma screen following the VESA standard.
Keep in mind that there are three standards.
They are:
- VESA MIS-D: Square hole measuring 75 (W) x 75 (H) or 100 (W) x 100 (H) millimeters
- VESA MIS-E: Rectangular hole measuring 200 x 100mm (W x H)
- VESA MIS-F: Hole pattern with 200mm pitch (i.e. 600 x 400mm or 400 x 200mm) or 300 x 300mm hole (W x H)
Also, older monitor models don’t have these standard VESA mounting holes.
Some experts advise that you use a riser-type stand instead.
However, you can always use an adapter that you can find in any store selling monitor accessories.
Another reason dual monitor mount stands aren’t universal is that there are proprietary models or those that only work for monitors from the same brand.
2. How do you determine which VESA standard your monitor has?
To ensure you buy a compatible product to install your monitor confidently on your desk, you must check its dual monitor mount VESA mount standard.
Fortunately, there are several easy ways to do so.
The first technique to determine the VESA mount standard of your LED, OLED, plasma, or LCD monitor is to check the manual or monitor box.
After all, it’s where you’ll usually find all the product dimensions, specs, and other additional details.
Another way to find it is to go to the manufacturer’s website, search for your monitor’s specific model, and check the product details or features.
If you can’t find the answers in product info sheets, you can measure the threaded holes at the back of your monitor, the middle area.
Using a ruler or tape measure, measure the horizontal (width) and vertical distance (height) between the middle of each hole.
Compare your results to the VESA standard provided above.
If all else fails, you may contact the manufacturer or retailer’s customer service and support team for assistance.
3. Can you mount curved monitors?
Yes, you can! However, ensure that you only purchase a dual monitor mount stand designed for curved monitors.
Don’t worry because you’ll find a selection of monitor mounts perfect for such monitors.
4. How do you attach a monitor to a stand?
It doesn’t matter what technique on how to install a dual monitor stand you used. Read our helpful guide on removing the old monitor stand.
The last thing you need to do is attach each monitor to its corresponding dual monitor arm.
Yet again, following the manufacturer’s instruction is essential, but here are the usual steps for monitors with a mounting plate:
- Attach the mounting bracket plates that came with the dual monitor mount stand to the monitor’s back using the provided screws.
- Gently tighten the attachment of plates to monitors to secure them.
- Gently slip the plate over the quick-release plate you’ll find in the stand’s dual monitor arm.
- Check that each plate is secured tightly.
- Ensure you don’t have unaligned monitors; adjust accordingly by moving the dual monitor arm.
- Attach the monitor cables; if your stand has integrated cable management, use it to have a tidy workstation. You may also use detachable cable clips for better cable management.
That’s it! You’re done.
Successfully Installing Your Dual Monitor Mount Stand
You’ll enjoy several benefits after successfully installing a dual monitor mount stand and attaching your flat or curved monitors.
You’re assured you can achieve the exact height as most of these products are height adjustable.
It will allow you to raise or lower your prized monitors conveniently.
You can also adjust the monitor tilt to prevent neck and shoulder strains.
Most of the stands have a good range of motion, so you can simply move the dual monitor arm in the direction that you prefer.
Just remember that you must always find stands compatible with your monitors that can accommodate their weight and size.
Lastly, ensure that the manufacturer has a return policy and good customer service just in case you encounter issues or receive a stand in damaged condition.