Experts say that clutter negatively affects our emotional and mental health, so they recommend that you keep your work desk as neat as possible.
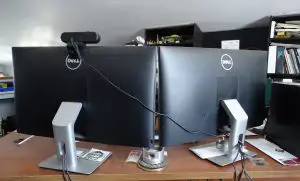
That’s why most people now opt for a wall-mounted or desk-mounted computer monitor screen.
This way, they have enough desk space for other office supplies without looking untidy.
What if you have office or gaming monitors designed with stands and want to shift to this setup?
Well, we’ll teach you the safe and effective ways of how to remove monitor stands or bases without hiring a professional.
If you want to replace the one currently holding your stand-free LED, plasma, or LCD monitor, this guide is also for you.
We hope you love our tips & how-tos. Office Solution Pro is supported by its readers. This post may contain affiliate links. We may earn a commission at no additional cost to you.
Before We Start, Here Are Some Reminders
Remember that your computer’s screen is one of the most sensitive parts, especially if you have a touch screen monitor.
That’s why it’s advisable to seek the assistance of a friend or a family member.
Even if the process is quite quick and easy for a single person, accidents can happen.
You wouldn’t want to risk breaking the screen, right?
This reminder is especially important for large, flat monitors and curved monitors.
Larger screens are cumbersome to handle, while curved monitors have a different type of balance, so they require more support.
Monitor Base Removal Instructions
Like with other products, your monitor comes with an owner’s manual where you can find assembly and disassembly instructions.
That is, of course, if you bought a monitor with a detachable stand.
If you’ve attached the monitor and stand before, you’ll find that the steps to remove the monitor stand disassembly method are just the opposite.
Additionally, remember that monitor models are quite different, but the method below is the most common for some of the most popular monitor brands.
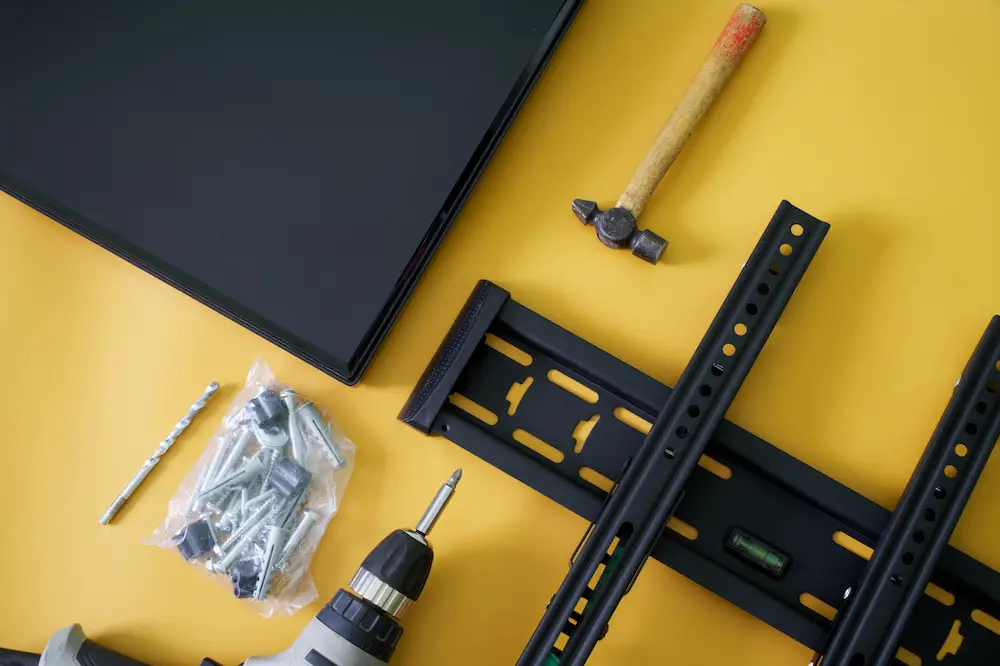
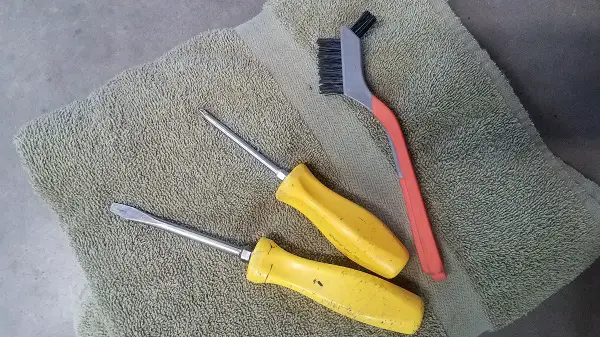
The Materials and Tools
You won’t need special or expensive tools and materials to remove your monitor’s stand successfully.
All you’ve to prepare are the following:
- Slot, Phillips, or flathead screwdriver: Size will depend on the size of the screws
- Butter knife
- Soft-bristled brush
- Thick, soft, nonabrasive cloth: size should be the same or larger than your monitor
The Steps
Whether you have an advanced or basic monitor unit, the generic monitor stand removal or disassembly steps that you need to follow are:
- Place your soft cloth on a stable, flat surface, ensuring no one accidentally spills anything or steps on it.
- Turn your computer off and unplug
- Remove the cables connected to your monitor.
- Gently lift your monitor and place it on the soft cloth, facing down.
- Inspect the monitor’s back to find where it meets the stand.
- If a cover or plate hides the screws, remove it or unscrew any screws attached to the cover to remove it.
- Look for the screws attaching the base or stand to your monitor.
- Depending on the anchor screws, use your slot, Phillips, or flathead screwdriver to unscrew each screw.
- Remove the loose metal or plastic screws. If they seem difficult to remove, take your brush and clean the screws as there might be collected dust or rust.
- Once you have removed them successfully, place them somewhere safe so you don’t lose them.
- Gently rock the monitor stand, ensuring you don’t apply too much pressure, so it slowly detaches from your monitor.
- At this point, you should be able to slide the stand off or pull it out from the monitor.
- If not, take your butter knife or slot screwdriver and carefully pry the monitor from its stand, starting on the side. Then, gently push your monitor off its stand’s frame while also pulling the stand.
- Re-attach the screws so you don’t lose them or place them in a safe place, as you might need them in the future.
- Replace the cover you removed earlier.
That’s it! You’re done removing the stand from your LED, OLED, plasma, or LCD monitor.
All you’ve to do is mount your wall or desk stand and lift your monitor off the soft cloth, attach it to the stand’s arm, and reconnect the cables.
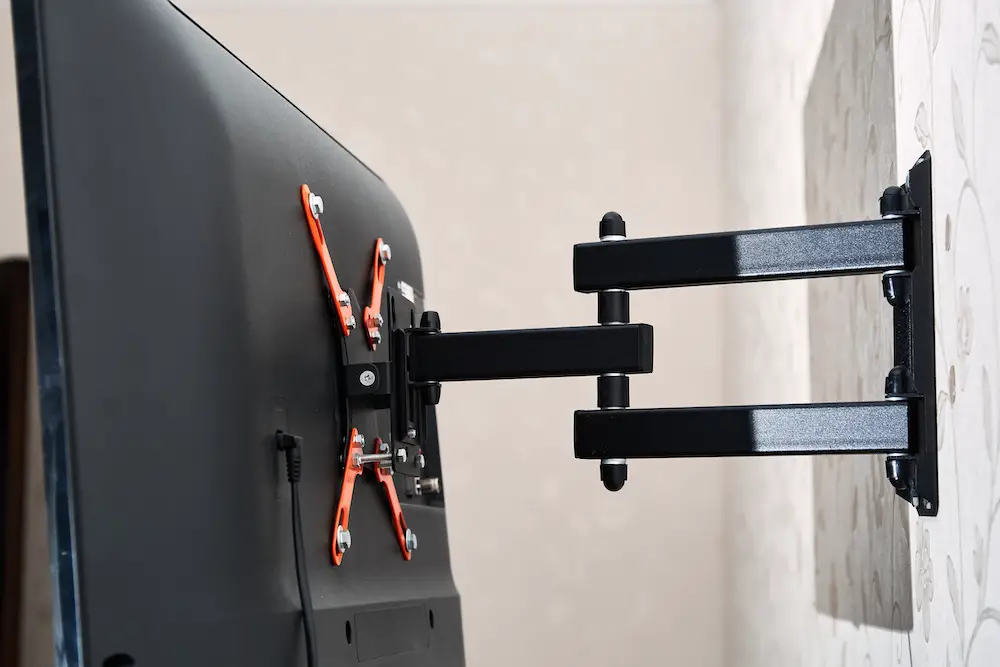
Wall- or Desk-Mounted Monitor Stand Removal
Like the monitors, wall- or desk-mounted stands are also available in various models.
Yet again, the instructions provided by the manufacturer are always essential. Also, if you installed the stand in the past, just reverse the steps.
If you can’t remember how you did it or can’t find the instructions, here’s the general procedure on how to remove monitor stands:
The Materials and Tools
The tools and materials you’ll need are almost the same as the monitor removal steps above:
- Phillips, slot, or flathead screwdriver: size will depend on the size of the screws
- Pliers
- Soft-bristled brush
- Thick, soft, nonabrasive cloth: Size should be the same or larger than your monitor (a towel is good!)
The Steps
Whether you have flat or curved monitor stands, the steps you need to take are the same, and they are:
- Follow steps number one to three above (From placing a soft cloth on a flat surface to removing every monitor cable)
- Let two other persons hold or support one of the monitors with both hands. Person A should hold the leftmost bottom as if hugging the monitor. Person B should do the same on the other side.
- Get the appropriate screwdriver and loosen the screws securing the arm plate to the monitor. Ensure that you inform the people holding the monitor that you’re about to start.
- Slowly remove the loose screws. If they seem difficult to remove, take your brush and clean the screws, as there might be collected dust or rust.
- Once removed, ask the individuals holding the monitor to pull the monitor out slowly. Assist them by slowly rocking the arm from left to right.
- Gently place the monitor on the soft cloth upside down and stow the screws in a safe place.
- Repeat the steps in the stand’s second arm if you have dual monitors.
- Once you have removed all the monitors and are in a safe place, you can start detaching the arms from the main stand.
- Take your pliers and unscrew the C-clamp or grommets from your desk.
- You can clean the screws with a brush or apply oil if they seem too tight.
- Store the parts and screws together or dispose of them properly if you don’t intend to keep them.
How to Remove Monitor Stands: In Conclusion
Whether you’re removing the actual stand or the mount stand of your monitor, always ensure you allot enough time to perform this task.
You would need gentleness, patience, and attention to detail to ensure your and your assistants’ safety.
It will also help you avoid scratching, denting, and completely damaging your HP, LG, Acer, and Samsung monitors and their parts.
Good luck!
Sources
- © 2008 WebMD, LLC. All rights reserved. Clutter Control