The most common fault associated with the malfunctioning cylinder of an office chair is seal damage. The primary purpose of these seals is to maintain the required air pressure within the cylinder. If these seals fail to do so, your chair will start to sink.
The most feasible option to deal with this issue is to remove the old cylinder and replace it with a new one. For this purpose, you first need to remove the faulty cylinder. This is the toughest part of replacing the cylinder.
To assist you in this regard, we have compiled a step-by-step guide on how to remove the office chair cylinder. Here, you can easily learn the whole procedure and do it all by yourself. So let’s dive into our topic without any further delay.
At Office Solution Pro, we are passionate about Ergonomics! Our readers support the page. If you click on a link, we may earn a small commission at no cost to you. We hope you love the products we recommend as much as we do!
Watch This First:
Changing the an office chair’s gas cylinder does not have to be that difficult. Here’s a short video explaining several easy steps to simplify the process for you.
Tools You Need
Usually, you don’t need a lot of tools to remove an office chair cylinder. The tools that are essential for this procedure are as follows:
- A screwdriver or wrench
- A rubber head hammer
- WD-40
- New cylinder
Steps to Follow
To remove the office chair cylinder, follow these steps carefully.
1. Removing the seat
Before you start working on the chair, place a cloth on the floor to prevent any damage to the chair’s cushioning. After that, place the chair upside down. Now it’s time to detach the seat from its base. Use a screwdriver or wrench to loosen the screws depending on their type.
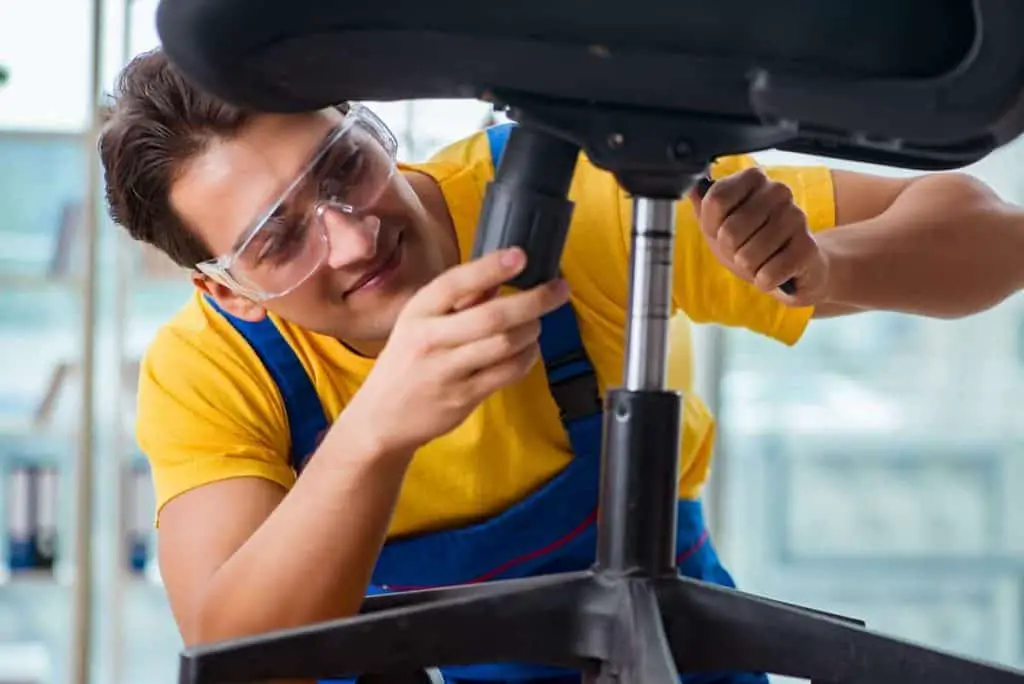
2. Removing the cylinder
This is the most challenging part of the process, and you need to be careful because you can damage other parts of your office chair and leave it completely useless. So make sure to clearly examine all the parts of your chair and get familiar with them.
To start with, you need to remove the protective covering of the cylinder to expose it. After that, tightly grab the top of your chair’s cylinder. Start to twist it gently until it detaches from the housing.
If you are facing any difficulty while removing the cylinder, use the rubber head hammer to tap the mechanism and release the cylinder.
Even if this method doesn’t work, you need to use WD-40. Spray some of it over the place where the cylinder meets the mechanism. Leave the chair for a few minutes to let the liquid reach the blocked areas of the mechanism. Try again with the help of a hammer.

3. Installing the New Cylinder
Once the cylinder is detached, the next step is to install the new one. This is the most straightforward step of all. Place the cylinder into the base of the chair and press. Carefully examine the position of the cylinder. It should be straight and not leaning towards one side.
Now attach the seat to the chair and tighten the screws. After that, place the chair in its upright position and sit on it. This will allow the parts to attach to one another correctly. Now pull the height adjustment level to see whether the cylinder is working properly.
Now that your chair is new again, you can use it without any issues. However, to increase the lifespan of your chair, make sure to adjust its height without putting all your weight.
Things to Consider When Buying a New Office Chair Cylinder
In this article, we discussed the whole procedure to remove an office chair cylinder. However, there is one thing left, and that relates to buying a new cylinder. In fact, the size of the cylinder isn’t mentioned on the chair; therefore, you need to measure its size of it to order a new one.
For this purpose, you need to measure its length from the top of the taper to the bottom. When doing so, don’t include the piston rod. After that, measure the width of your chair’s cylinder from its bottom. We highly recommend you get a universal-sized cylinder that fits most office chairs.

Now you can order the replacement by presenting the measurement. You can also buy the cylinder by visiting a nearby shop offering office chair replacement parts. However, when doing so, make sure to keep an eye on the quality of the cylinder that you are going to buy.
This is essential, as a low-quality office chair cylinder won’t last too long. If you want your furniture, preferably an office chair that properly supports your back, to work seamlessly for years to come, rely on the quality cylinder offered by a reputed supplier.
You may also want to read:
- Can Office Chair Fit In A Sedan?
- Are Office Chair Wheels Universal?
- Are Office Chair Bases and Cylinders Universal?
- How Strict Are Weight Limits On Office Chairs?
Final Words
When removing the cylinder, it is essential to understand its workings. If you are not a DIY type, it would be appropriate to seek the assistance of a knowledgeable friend. Moreover, while making such a repair, make sure to wear proper gear like gloves and safety shoes.
Removing the cylinder of your chair isn’t that difficult, but you need to be careful to prevent any damage to the chair, floor, or desk. Just follow the steps mentioned above to ensure the best possible outcome for your ergonomic office chair and its cylinder.