A good-quality office chair can last for many years. However, a time comes with they start to show signs of wear and tear. One of the most common issues that people face when using an old office chair is that it starts to sink when they sit on it. Let’s take a closer look at how to fix a sinking office chair.
We hope you love our tips & how-tos. Office Solution Pro is supported by its readers. This post may contain affiliate links. We may earn a commission at no additional cost to you.
The primary reason for this problem is that the adjustable cylinders or hydraulic parts of the chair become faulty. Usually, these chairs come with a piston or pneumatic cylinder, which helps to adjust the height of the office chair. There are numerous causes associated with the malfunction of the pneumatic operation of your chair.
However, no matter what the cause is, you need to get it repaired. If you aren’t in the mood to spend a considerable amount of money on fixing your office chair, there is a DIY way to deal with its sinking issue.
How to Fix a Sinking Office Chair
In most cases, the cylinder of an office chair malfunction due to its defective seals. They fail to maintain the pressure necessary to keep the seat at a certain height. One way is to replace the cylinder.
However, it is a costly affair, as it may cost you a lot. Hence, the best possible way is to fix the cylinder by repairing it in a do-it-yourself style.
Things You Need
To fix the sinking office chair, you require these things.
- Water pipe (Polypropylene [PP])
- A few zip ties
- Rubber head hammer
- Measuring tape
- A cutting tool
- A screwdriver or wrench

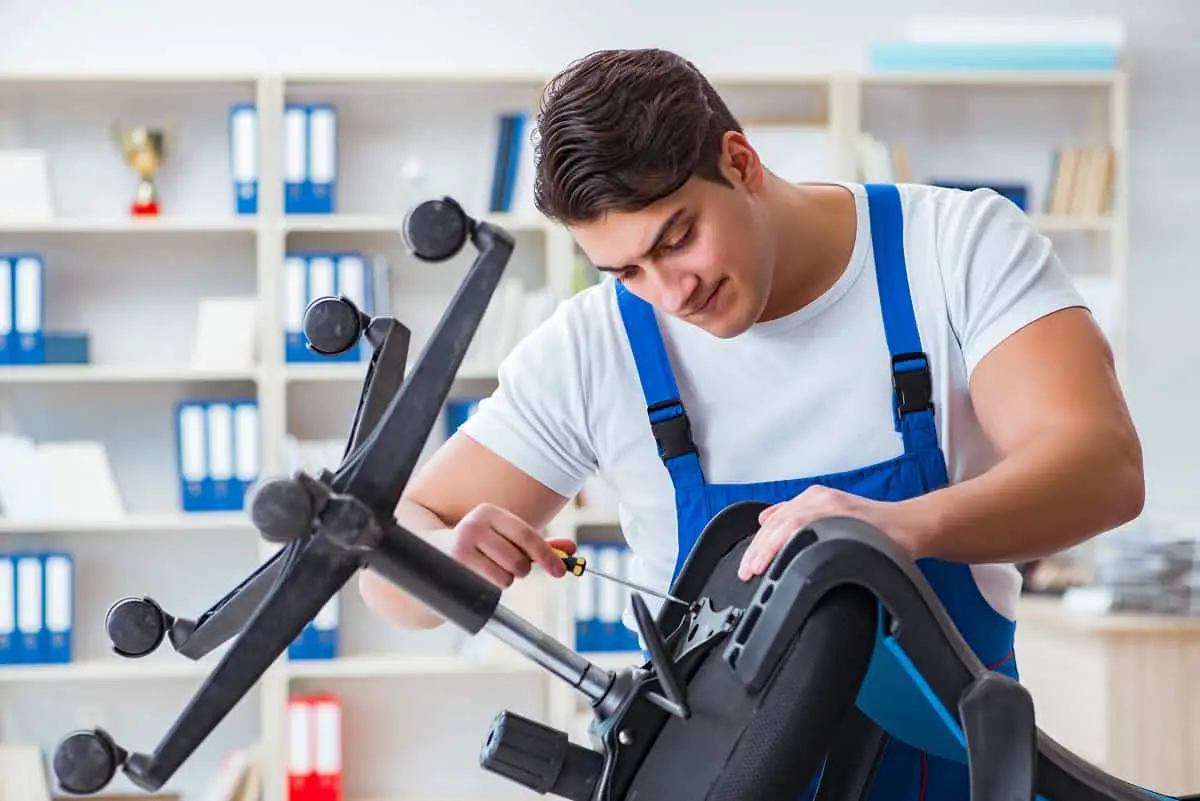
Furniture repair and assembly concept
Steps to Follow
Here are the whole procedure on how to fix a sinking office chair. Make sure to follow these steps.
1. Remove the seat
The first step is to remove the seat from its base. For this purpose, you need a screwdriver or a wrench, as the case may be. Place the chair upside down and start loosening the screws one by one.
Once all the screws are loose, use the rubber head hammer to remove the seat by hitting the metal part attached to it.
2. Measure the cylinder height
To start with, measure the cylinder to know the exact size of the PP pipe that you are going to use. For this purpose, remove the seat from the base of your chair. After that, remove the plastic cover that surrounds the cylinder.
The crucial part while taking the measurement is to keep the chair at the desired height. This is so, as after fixing the sinking issue, you won’t be able to adjust the height of your chair. The next part is to measure the circumference of the cylinder.
After taking the right measurements, it’s time to buy the water pipe. Try to buy a pipe with some additional length. This will allow you to make last-minute adjustments if required. You can cut the excessive part if not needed.
3. Cutting the pipe
Before starting this procedure, make sure to wear protective gear, including clear goggles and gloves. Mark the pipe with the required length and cut it with your cutting tool. While doing so, secure the pipe to prevent the appearance of uneven cutting edges.
4. Fitting the pipe
After cutting the pipe, the next step is to fit the PP pipe. Remove the protective skirt to expose the cylinder. Slide the PP pipe against the cylinder and push it to fit it properly. A perfectly placed pipe will prevent the chair from sinking.
After that, push the pipe to insert the strut that locates at the cylinder’s housing. Make sure there isn’t any gap between the strut and the housing. It should be a perfect fit, neither too tight nor too loose.
5. Using the zip ties
Make a loop of the zip tie and wrap it around the PP pipe. Use three of these zip ties to secure the tube and avoid any possible damage to it. Place one at the top of the PP tube and the other one at the point where strut meets the housing of the cylinder. Use the third one in the middle of the other two zip ties.
What if something goes wrong?
When measuring the exact size of the pipe you need to use, you must be careful. However, if, for some reason, you see that the seat is still too low, you can make additional adjustments.
Just raise the seat up to your desired height and take the measurement. After that, take another pipe and mark it. Cut the pipe and push it over the cylinder to sit close to the already snapped pipe.
Replacement Cylinders
If the pipe deal is not going to work for you, you can measure what size your chair cylinder is and get a replacement. One aspect to note is that it can be very difficult to get your old cylinder out!
You will have to match the height, girth, and length of travel to get the matching cylinder. The replacement cylinder’s also come in two choices of color; black and silver. Pick the one to match your chair.

You may also want to read:
- Can Office Chair Fit In A Sedan?
- Are Office Chair Wheels Universal?
- Are Office Chair Bases and Cylinders Universal?
- How Strict Are Weight Limits On Office Chairs?
Final Words
To ensure the best possible outcome, it is essential to follow the instructions carefully. In addition, you should keep in mind that this type of fix will permanently impair the ability of your office chair to offer height adjustment, so use this method only if replacing the cylinder isn’t a viable option.
Now that you know how to fix a sinking office chair, you can say goodbye to expensive repairs and replacements.


